How to Build a Chatbot for Your Website 2026
Every website loses visitors it never had to lose. Someone lands on your page with a question — about pricing, availability, or how something works — and if there's no quick way to get an answer, they leave and go find a competitor who responds faster.
Every website loses visitors it never had to lose. Someone lands on your page with a question — about pricing, availability, or how something works — and if there's no quick way to get an answer, they leave and go find a competitor who responds faster. A chatbot fixes exactly this problem, and in 2026, building one no longer requires a developer, a budget, or weeks of setup.
This guide walks through exactly how to build a chatbot for your website, from planning to launch, using a free no-code tool.
Why Add a Chatbot to Your Website in the First Place
Before jumping into setup steps, it's worth being clear on what a chatbot actually does for your business:
Answers instantly, 24/7 — visitors get responses at 11pm or on a Sunday, not just during business hours
Reduces repetitive support work — common questions get handled automatically, freeing your team for complex requests
Captures leads automatically — names, emails, and phone numbers collected mid-conversation instead of visitors leaving without a trace
Keeps visitors on your site longer — instead of bouncing to search for answers elsewhere
A chatbot isn't just a nice-to-have widget anymore — for many small businesses, it's the difference between capturing a lead and losing one silently.
Step 1: Define What You Want the Chatbot to Actually Do
Before building anything, get specific about the chatbot's job. Most businesses want one or more of these:
Answer FAQs (hours, pricing, policies, services)
Qualify and capture leads
Guide visitors to the right page or product
Provide basic support before escalating to a human
Trying to do everything at once usually produces a chatbot that does nothing well. Start narrow — pick the one or two jobs that matter most for your business right now.
Step 2: Gather the Content Your Chatbot Will Learn From
This is the step most businesses skip, and it's the one that matters most. A chatbot is only as good as the information it's trained on. Before building, collect:
Your FAQ page or document
Pricing sheets or service packages
Common questions your team already answers by email or phone
Any policies (refunds, cancellations, shipping, booking terms)
If you don't have these written down anywhere yet, this is a good excuse to finally document them — it'll help your team as much as your chatbot.
Step 3: Choose a No-Code Chatbot Builder
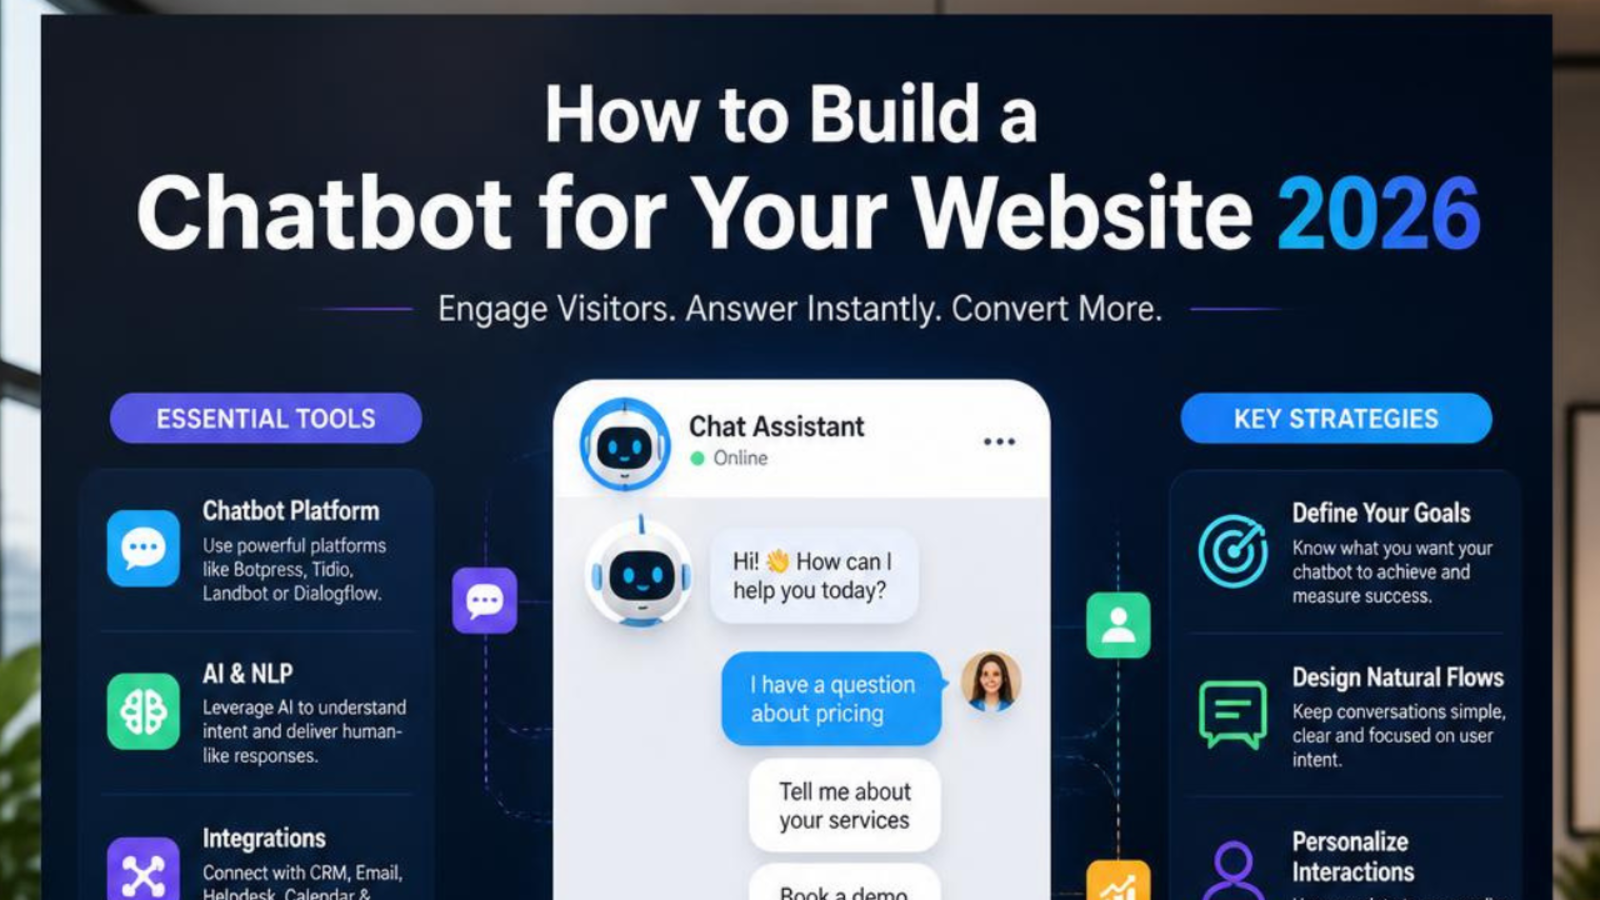
You don't need to write a single line of code to get a chatbot live today. Platforms like Glanceia let you:
Upload your documents (PDFs, FAQs, pricing sheets) directly
Customize the chat widget's colors, avatar, and welcome message to match your brand
Copy a single embed script into your website
That's the entire technical setup — no developer required, and no need to understand APIs, hosting, or backend infrastructure.
Step 4: Upload Your Content and Train the Chatbot
Once you're in the builder, upload the documents you gathered in Step 2. A well-built chatbot platform will use this content directly to answer visitor questions — meaning if a visitor asks about your return policy or a specific package price, the chatbot answers with your actual information instead of a vague, generic response.
This is the single biggest difference between a chatbot that feels helpful and one that frustrates visitors. Generic chatbots that aren't trained on your specific business tend to give surface-level answers that don't actually solve the visitor's problem — which pushes them to leave rather than convert.
Step 5: Customize the Widget to Match Your Brand
A chatbot that looks out of place on your site can actually hurt trust rather than help it. Spend a few minutes on:
Colors — match your site's existing palette
Avatar or icon — something simple and recognizable
Welcome message — specific and relevant, like "Need help checking availability for your dates?" rather than a generic "Hi, how can I help?"
Tone of voice — formal or casual, depending on your brand
Small details like these make the chatbot feel like a natural extension of your business rather than a bolted-on tool.
Step 6: Set Up Lead Capture
If lead generation matters to your business (and for most small businesses, it does), make sure your chatbot is configured to collect visitor details during the conversation — not just at the end. Asking for a name and email partway through a helpful exchange converts far better than a cold form asking for contact details before any value has been provided.
Step 7: Embed the Chatbot on Your Website
Once your chatbot is trained and customized, embedding it is usually a single copy-paste step:
Copy the embed script provided by your chatbot builder
Paste it into your website's HTML, typically just before the closing
</body>tagSave and publish your changes
This works across all major website builders — WordPress, Shopify, Wix, Webflow, and Squarespace all support simple script embeds without needing custom development.
Step 8: Test It Like a Real Visitor Would
Before considering the job done, spend 15 minutes testing the chatbot yourself:
Ask the questions your actual customers ask most often
Try vague or oddly-phrased questions to see how it handles ambiguity
Check that lead capture actually saves contact details somewhere you can access
Test on both desktop and mobile, since chat widgets can behave differently on smaller screens
Step 9: Monitor and Improve Over Time
A chatbot isn't a "set it and forget it" tool. After launch:
Review the questions visitors are actually asking
Update your uploaded documents whenever pricing, policies, or services change
Watch for repeated questions the chatbot struggles to answer, and add content to cover them
Check basic analytics (if your platform offers them) to see where conversations drop off
Treating your chatbot as a living part of your website — rather than a one-time setup task — is what separates businesses that get real value from it and those that let it go stale after a month.
Common Mistakes to Avoid
Skipping the content-gathering step and expecting the chatbot to "figure it out" on its own
Using a generic, one-size-fits-all bot that isn't trained on your actual business information
Forgetting to update the knowledge base after prices or services change
Overcomplicating the welcome message instead of asking one clear, relevant question
Not testing on mobile, where a large chunk of your visitors likely land first
Getting Started Today
Building a chatbot for your website doesn't require a development team, a budget, or weeks of planning. With a free tool like Glanceia, the entire process — from uploading your documents to going live — can realistically be done in under 10 minutes:
Sign up for free, no credit card required
Upload your business documents
Customize your widget
Paste the embed script into your site
Start capturing leads from visitors who already have questions you can answer
Final Thoughts
A chatbot is one of the few tools that works for your business around the clock, without needing a salary, a break, or supervision. The businesses that get the most value from one aren't necessarily the ones with the fanciest widget — they're the ones that took the time to train it properly on their own information and kept it updated as their business changed.