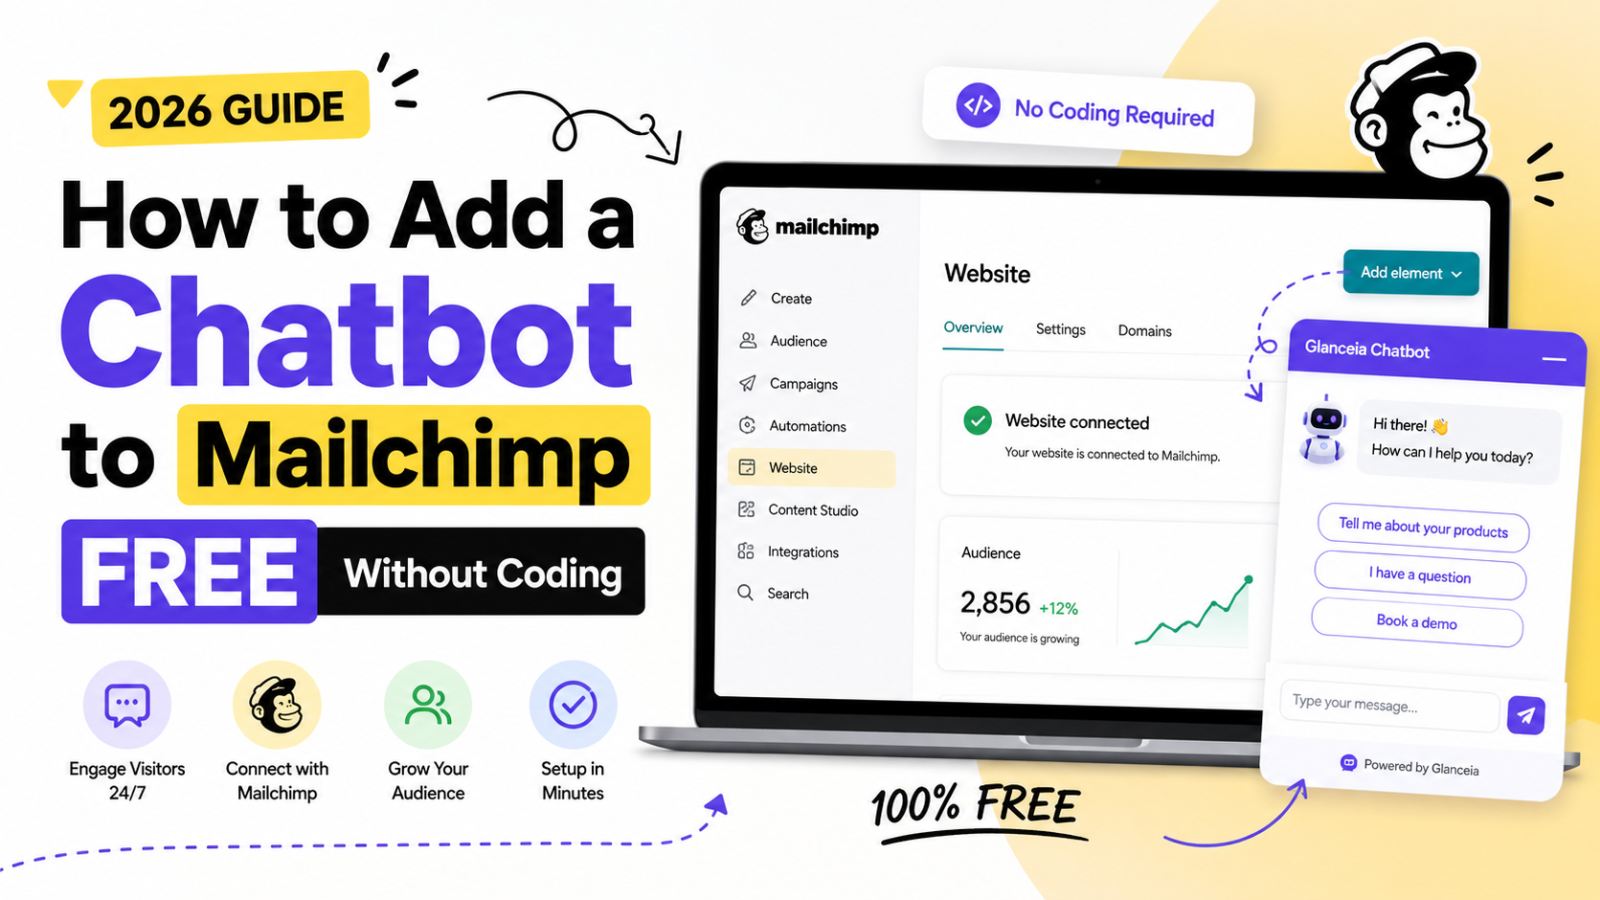
How to Add a Chatbot to Mailchimp Free Without Coding (2026 Guide)
Learn how to connect a chatbot to Mailchimp in 2026 — capture website leads through AI conversations and send them automatically to your Mailchimp list. Free setup guide.
Introduction
If you use Mailchimp to manage your email marketing, you already understand the value of a quality subscriber list. The bigger the list, the more people you can reach with every campaign, promotion, and announcement you send.
The problem is growing that list. Traditional sign-up forms — the kind that sit quietly in your footer or pop up after 30 seconds — convert a small fraction of website visitors. Most people arrive on your site, spend a few minutes, and leave without ever entering their email.
A chatbot changes this dynamic entirely. Instead of asking visitors to find and fill out a static form, a chatbot engages them in a natural conversation, earns their trust by answering their questions, and then collects their email in a way that feels like the next natural step — not a form to fill.
When that chatbot is connected to Mailchimp, every email address captured automatically flows into your subscriber list. No manual export, no copy-paste, no spreadsheet to maintain. The chatbot captures the lead, Mailchimp receives it, and your email sequence does the rest.
This guide shows you exactly how to set this up — for free, without writing a single line of code.
What "Adding a Chatbot to Mailchimp" Actually Means
Before getting into the steps, it is important to be clear about what this integration actually does — because the phrase "add chatbot to Mailchimp" is slightly misleading.
Mailchimp is an email marketing platform. It manages subscriber lists, sends campaigns, and runs automations. It is not a chatbot platform and does not have a built-in AI chatbot feature.
What businesses actually mean when they search this phrase is one of two things:
Meaning 1: Add a chatbot to your website that sends captured leads to Mailchimp A website chatbot collects visitor name and email through a conversation, then automatically adds that contact to a Mailchimp audience list. This is the most common and useful interpretation — and it is exactly what this guide covers.
Meaning 2: Add chatbot functionality to a Mailchimp-built landing page or website If you use Mailchimp's website builder to host a landing page or simple site, you can add a chatbot to that page using the same embed script method that works on any website.
Both are covered in this guide. But the first — using a chatbot to capture leads for your Mailchimp list — is where the real value is.
Why This Combination Is So Powerful for List Building
Email marketing consistently delivers some of the highest ROI of any marketing channel. But email marketing only works as well as the quality and size of the list behind it. A chatbot-to-Mailchimp setup supercharges list growth because:
Chatbots convert significantly better than static forms A visitor who has already had a helpful conversation with your chatbot — one that answered their questions, helped them find what they needed, and made your business feel responsive — is far more likely to share their email than a visitor who just saw a form appear on the page.
Leads are captured with context When a contact enters your Mailchimp list from a form, you typically just get a name and email. When they enter from a chatbot conversation, you can capture additional context — what they were asking about, which product they were interested in, their budget range, their location — and pass all of that through to Mailchimp as custom fields. This makes your email segmentation and personalisation significantly more accurate.
It works after hours A chatbot captures leads 24 hours a day without anyone on your team being present. A visitor who arrives at 11 PM, has a conversation with your chatbot, and shares their email gets added to your Mailchimp list immediately — ready to receive your welcome sequence before they wake up the next morning.
Every lead is warm A subscriber who joined your list through a chatbot conversation has already demonstrated engagement. They asked questions. They showed interest. They chose to share their email in the context of a helpful interaction. These contacts open emails at higher rates and convert better than contacts who signed up through a passive form.
Method 1: Using Glanceia + Zapier to Connect to Mailchimp (Recommended for Most Businesses)
This is the recommended method for most businesses in 2026. It uses Glanceia as the AI chatbot on your website and Zapier as the automation bridge between Glanceia and Mailchimp.
What You Need
A free Glanceia account
A free Zapier account (the free tier covers this use case)
A Mailchimp account (free plan works)
A website where you can add an embed script
Step 1: Set Up Your Glanceia Chatbot
Go to Glanceia and create a free account. Build your chatbot by uploading your business content — your FAQ document, services descriptions, and pricing information. Configure the widget to match your website branding.
The most important configuration for this integration is your lead capture settings. Inside your Glanceia dashboard, set the chatbot to collect:
First name — so Mailchimp can personalise emails
Email address — the core of the integration
Any additional fields you want to pass to Mailchimp — phone number, topic of interest, company name
Set the lead capture trigger at a natural point in the conversation — typically after the chatbot answers the visitor's first question. At that point the visitor is engaged and has already received value, making them significantly more likely to share their details.
Write a natural prompt for the email request. Compare these two approaches:
Forced and transactional: "Please enter your email address."
Natural and value-first: "Happy to send you more details on this — what email should I send them to?"
The second approach works because it gives the visitor a reason to share their email that is in their own interest, not just a data collection request.
Step 2: Embed Glanceia on Your Website
Copy the Glanceia embed script from your dashboard and add it to your website footer:
WordPress: Plugins → WPCode → Footer Scripts → paste → Save
Wix: Settings → Custom Code → Add Code → paste → Body end → All Pages → Apply → Publish
Webflow: Project Settings → Custom Code → Footer Code → paste → Save → Publish
Shopify: Online Store → Themes → Edit Code → theme.liquid → paste before
</body>→ SaveHTML site: Open your HTML file → paste just before
</body>→ Save
Once embedded, the chatbot is live on every page of your website.
Step 3: Set Up Zapier to Connect Glanceia to Mailchimp
Zapier acts as the automated bridge between your Glanceia chatbot and your Mailchimp audience list. When Glanceia captures a lead, Zapier picks it up and sends it to Mailchimp automatically.
Here is how to set it up:
Create a free Zapier account at zapier.com if you do not have one. The free Zapier plan allows the number of Zaps needed for this integration.
Create a new Zap inside your Zapier dashboard.
Set the Trigger: Search for Glanceia in the app search bar and select it as your trigger app. Choose the trigger event — typically "New Lead Captured" or "New Contact." Connect your Glanceia account to Zapier using the API key from your Glanceia dashboard.
Test the trigger by going back to your Glanceia chatbot and submitting a test conversation with your own name and email. Return to Zapier and click "Test Trigger" — Zapier should find the test lead you just submitted.
Set the Action: Search for Mailchimp in the app search bar and select it as your action app. Choose the action event — "Add/Update Subscriber" is the most useful option as it adds new subscribers and updates existing ones without creating duplicates.
Connect your Mailchimp account to Zapier. Select the Mailchimp audience list you want chatbot leads to flow into.
Map the fields: Tell Zapier which data from the Glanceia lead goes into which Mailchimp field:
Glanceia "First Name" → Mailchimp "First Name"
Glanceia "Email" → Mailchimp "Email Address"
Glanceia "Phone" → Mailchimp "Phone" (if you collect it)
Any custom Glanceia fields → Mailchimp custom merge tags (if you have set them up)
Test the full Zap: Click "Test Action" to run a test. Go into your Mailchimp audience and confirm the test contact appeared. If it did, your integration is working.
Turn the Zap on: Toggle the Zap to active. From this point forward, every lead captured by your Glanceia chatbot flows automatically into your Mailchimp list in real time.
Method 2: Direct Integration via Chatbot Platform Native Mailchimp Connection
Some chatbot platforms offer a native Mailchimp integration that does not require Zapier as an intermediary. This is simpler to set up but depends on the chatbot platform you choose.
The way native integrations typically work:
Inside your chatbot platform dashboard, find the Integrations section
Select Mailchimp from the available integrations list
Enter your Mailchimp API key (found in Mailchimp under Account → Extras → API Keys)
Enter your Mailchimp Audience ID (found in Mailchimp under Audience → Settings → Audience name and defaults)
Map the chatbot lead fields to your Mailchimp audience fields
Save and activate
When a visitor shares their email in the chatbot, the platform sends it directly to Mailchimp — no Zapier required.
How to find your Mailchimp API Key: Log into Mailchimp → click your profile icon in the top right → click Account & billing → click Extras → click API Keys → click Create A Key → copy the key
How to find your Mailchimp Audience ID: Log into Mailchimp → click Audience in the top navigation → click All contacts → click Settings → click Audience name and defaults → find the Audience ID field
Keep these two pieces of information ready before setting up any integration — you will need both.
Method 3: Add a Chatbot to a Mailchimp Landing Page or Website
If you use Mailchimp's website builder to host a landing page, blog, or simple website, you can add a chatbot to that page using Mailchimp's custom code feature.
Here is how:
Step 1: Build and set up your Glanceia chatbot as described in Method 1 above.
Step 2: Get your Glanceia embed script from the dashboard.
Step 3: Log into Mailchimp and navigate to your website or landing page editor.
Step 4: Add a custom code block to your page. In Mailchimp's page editor, look for the option to add an HTML or custom code block.
Step 5: Paste your Glanceia embed script into the custom code block.
Step 6: Publish your Mailchimp page.
The chatbot will now appear on your Mailchimp-hosted page. Leads captured through it can be connected to your Mailchimp list using the Zapier method described in Method 1.
What to Do in Mailchimp After the Integration Is Live
Once your chatbot is capturing leads and sending them to Mailchimp, set up the email side to make the most of every new subscriber.
Set Up a Welcome Email Sequence
The best time to email a new subscriber is immediately after they join your list — when they are most engaged and your business is fresh in their mind.
In Mailchimp, go to Automations and create a welcome email series triggered by a contact joining your audience. A basic three-email welcome sequence might look like:
Email 1 (immediate): Thank them for their interest. Deliver whatever you promised in the chatbot conversation — a guide, a pricing breakdown, more information about your services.
Email 2 (Day 3): A case study, testimonial, or example of your work that builds trust and credibility.
Email 3 (Day 7): A soft call to action — book a call, start a free trial, visit a specific page on your website.
Use Tags to Segment Chatbot Leads
When Glanceia sends leads to Mailchimp via Zapier, you can configure the Zap to automatically add a tag to every contact — something like "Website Chatbot Lead" or a more specific tag based on what they asked about.
Tags in Mailchimp let you segment your audience and send different email sequences to different groups. A subscriber who asked about your travel packages in the chatbot should receive different follow-up emails than one who asked about your corporate services.
Configure your Zap to pass the relevant tag when it creates or updates the Mailchimp subscriber. In Zapier, this is under the Tags field in the Mailchimp action setup.
Monitor Subscriber Quality Over Time
After a few weeks of running the chatbot-to-Mailchimp integration, compare the open rates and click rates of chatbot-sourced subscribers versus other sources.
In most cases, chatbot-sourced subscribers outperform form-sourced subscribers on both metrics — because they joined after a positive, helpful interaction rather than passively. If you see this in your data, it validates the integration and gives you a clear case for investing more in chatbot-driven list growth.
Common Problems and How to Fix Them
The Zap is not triggering
Check that the Zap is turned on inside your Zapier dashboard. Test it by going through a complete chatbot conversation with your own email address and check whether the lead appears in Zapier's task history. If the trigger is not finding new leads, reconnect your Glanceia account in the Zapier trigger settings.
Leads are arriving in Mailchimp without first names
This usually means the name field was not mapped correctly in Zapier. Go back to your Zap, edit the Mailchimp action step, and confirm the Glanceia "First Name" field is correctly mapped to the Mailchimp "First Name" merge tag.
The chatbot is capturing emails but they are not appearing in Mailchimp
Check that your Mailchimp audience is selected correctly in the Zapier action step. Confirm the Mailchimp API key you entered is still valid — keys can be deactivated in Mailchimp's settings. Check Zapier's task history to see whether the Zap ran successfully and whether there were any error messages.
Duplicate contacts appearing in Mailchimp
Use the "Add/Update Subscriber" action in Zapier rather than "Add Subscriber." The update action checks whether the email already exists before adding and updates the existing record rather than creating a duplicate.
The chatbot is not collecting emails from enough visitors
Review your chatbot conversation logs. Check where in the conversation visitors are dropping off before sharing their email. If the email request comes too early — before the chatbot has had a chance to answer a question and provide value — visitors are less likely to share. Move the email prompt to after the first value exchange.
Best Practices for Growing Your Mailchimp List With a Chatbot
Give visitors a reason to share their email in the conversation The most effective chatbot lead capture does not ask for an email in isolation. It offers something in return — "I can send you our full pricing breakdown," "Want me to send you our service guide?", "I'll have someone reach out to you with availability." Give the visitor a reason that is in their own interest.
Keep the email prompt conversational "What email should I send that to?" converts better than "Please enter your email address." The first feels like a natural next step in a conversation. The second feels like a form.
Do not ask for too much information at once Asking for name, email, phone, company, and budget in quick succession feels like an interrogation. Start with just name and email. Collect additional information in the follow-up email sequence or in a separate stage of the conversation once trust is established.
Segment from the start Use tags in Mailchimp from day one — even before you have enough subscribers to justify it. Tagging contacts by topic of interest, product type, or inquiry source gives you data that becomes increasingly valuable as the list grows.
Match your email welcome sequence to what was discussed in the chatbot If your chatbot conversation was about your travel packages, the first welcome email should be about travel packages — not a generic "welcome to our list" message. The closer the email follows on from the chatbot conversation, the higher the engagement will be.
FAQ — Chatbot Mailchimp Integration
Does Mailchimp have a built-in chatbot? No. Mailchimp is an email marketing platform and does not have a built-in AI chatbot. To add a chatbot to your Mailchimp-connected website or landing page, you need a third-party chatbot tool like Glanceia and connect it to Mailchimp using Zapier or a native integration.
Is the chatbot to Mailchimp integration free? Yes — you can complete this integration without spending anything. Glanceia's free plan includes lead capture, Zapier's free plan covers basic automation, and Mailchimp's free plan handles up to 500 contacts and 1,000 monthly email sends. All three tools have generous free tiers.
How does the chatbot know when to ask for an email address? You configure this inside your chatbot platform. In Glanceia, you set the lead capture trigger — typically set to activate after the chatbot answers the visitor's first question. You can also configure it to trigger when a visitor asks about pricing, requests more information, or reaches a specific point in the conversation.
Will contacts added from a chatbot be GDPR compliant? You need to ensure your chatbot conversation includes a clear statement that by sharing their email, the visitor agrees to receive marketing communications. This can be as simple as a line in the chatbot message that precedes the email request: "I'd love to add you to our mailing list so we can stay in touch — would that be alright?" A clear opt-in consent moment in the conversation covers the GDPR requirement.
Can I send chatbot leads to a specific Mailchimp segment rather than my whole audience? Mailchimp uses tags and groups for segmentation. In your Zapier Zap, configure the action to apply a specific tag to contacts added from the chatbot — then create segments in Mailchimp based on that tag. This effectively routes chatbot leads into their own segment within your audience.
What if I already have leads in Glanceia — can I bulk export them to Mailchimp? Yes — export your existing Glanceia leads as a CSV file and import them directly into Mailchimp. After the import, set up the Zapier integration so all future leads flow automatically without manual exports.
Does this work on Mailchimp landing pages? Yes. If you host a landing page on Mailchimp's website builder, add the Glanceia embed script via Mailchimp's custom code block feature. The chatbot will appear on that page and leads can be connected to your Mailchimp list through the Zapier integration.
Final Thoughts
Adding a chatbot to your Mailchimp list-building strategy is one of the highest-impact changes you can make to your email marketing in 2026.
Email forms wait passively for visitors to come to them. A chatbot actively engages every visitor, earns their trust through a helpful conversation, and then collects their email in a way that feels natural — not like a barrier or an interruption.
The integration between Glanceia and Mailchimp via Zapier takes about 30 minutes to set up from scratch. Once it is running, every conversation your chatbot has on your website becomes a potential addition to your Mailchimp subscriber list — automatically, in real time, without any manual work.
Start with the free plans on all three tools. Upgrade only when your volume justifies it.
Ready to start capturing leads for your Mailchimp list through your website chatbot? Try Glanceia free — no credit card needed →
Published by Laxman- Team Glanceia