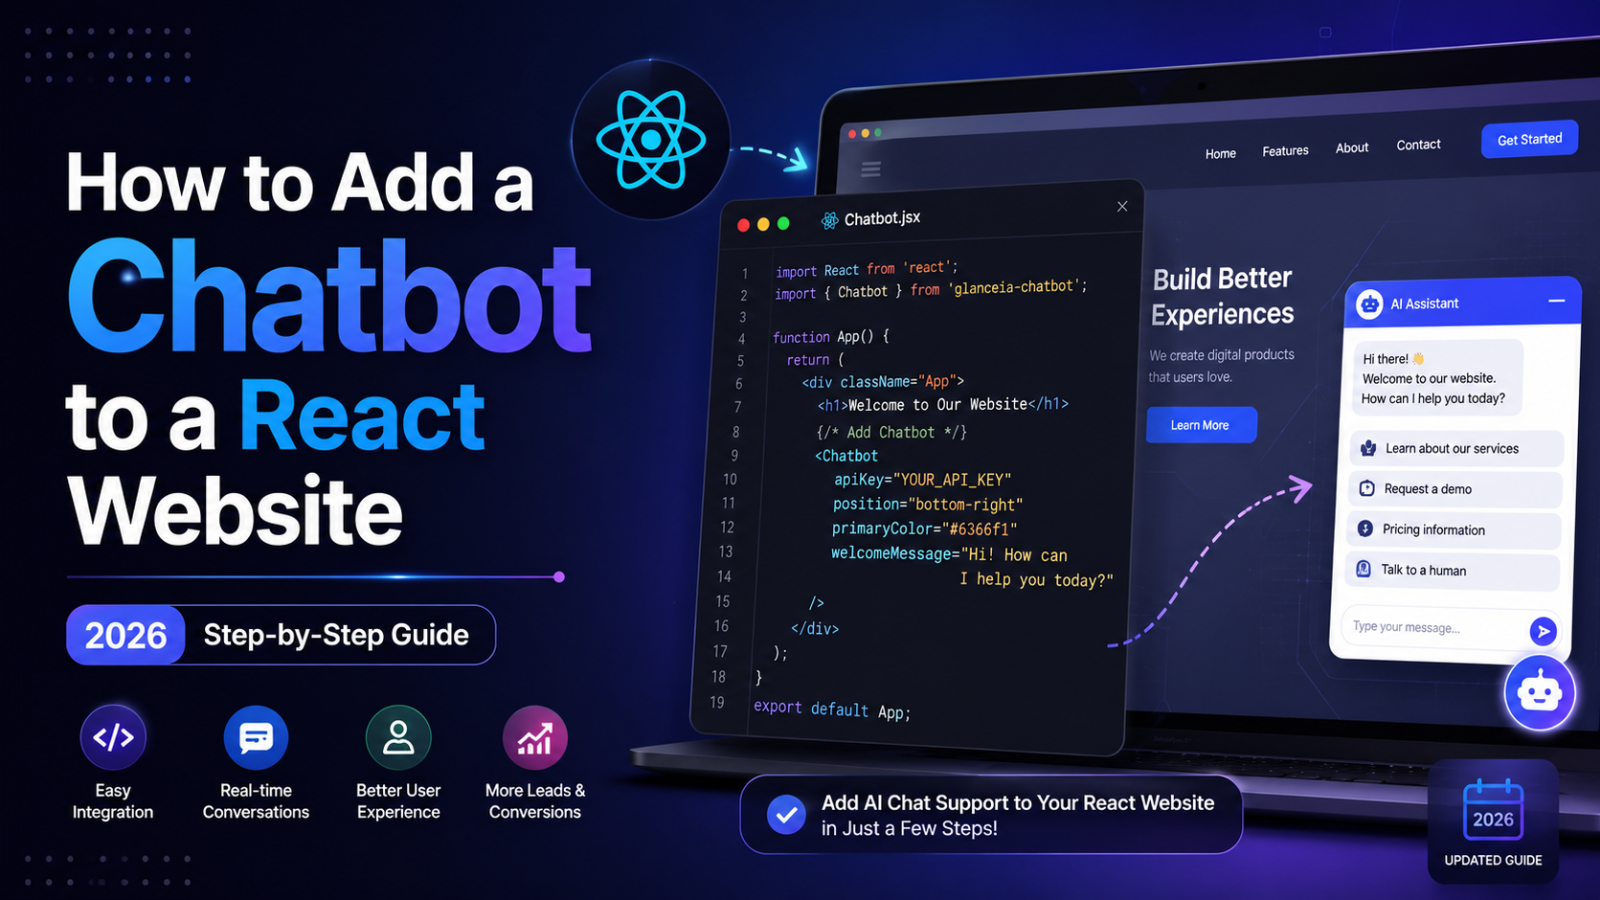
How to Add a Chatbot to a React Website (2026 Step-by-Step Guide)
Learn how to add an AI chatbot to your React website in minutes — embed script method, React component method, and npm package method all covered. Free to start with Glanceia.
Introduction
React powers a significant share of modern web applications — from single-page applications and marketing sites to complex dashboards and ecommerce storefronts. If your website or web app is built on React, you already have one of the most flexible front-end frameworks available. What many React developers and non-technical business owners alike struggle with is knowing the cleanest, fastest way to add a chatbot without creating unnecessary complexity in their codebase.
The good news is that adding an AI chatbot to a React website does not have to be complex at all. Depending on your setup and how much control you want over the integration, there are three different approaches available in 2026 — from the simplest one-line script injection to a full React component integration. This guide covers all three, explains when to use each, and gets you from zero to a live AI chatbot on your React site in under 30 minutes.
What You Need Before You Start
Before choosing your integration method, gather the following:
A React project (Create React App, Vite, Next.js, or any custom React setup)
A free Glanceia account with a configured chatbot — no credit card required
Basic familiarity with your React project's file structure
15 to 30 minutes
Understanding Your React Setup
The right integration method depends slightly on how your React project is structured. Before picking an approach, identify which of these describes your situation:
Create React App or Vite (standard client-side React) You have a public/index.html file and a src/ directory with components. Both the script injection and the React component methods work cleanly here.
Next.js (React with server-side rendering) You are using a framework on top of React. Script injection through _document.js or the Script component is the recommended approach. The standard React component method also works for client-side only rendering.
Custom React setup (webpack, Parcel, or similar) You have full control over your build configuration. Any method works — use whichever fits your team's preference.
React as part of a larger stack (Ruby on Rails, Laravel, Django with React frontend) Inject the script at the server-rendered template level, outside of React's component tree entirely.
Method 1: Script Tag in index.html (Fastest — Under 5 Minutes)
This is the simplest approach and works for the vast majority of React projects. It requires no changes to your React component tree and no npm packages.
When to Use This Method
Use this method when:
You want the chatbot live as fast as possible
You are not a developer or are working with a minimal React setup
You do not need the chatbot's behaviour to be controlled by React state or props
Your project uses Create React App, Vite, or any standard React setup with a public
index.html
Step 1: Get Your Glanceia Embed Script
Go to Glanceia, create a free account, build and train your chatbot, then navigate to the embed section of your dashboard. Copy your unique embed script — it looks like this:
html
<script src="https://cdn.glanceia.com/widget.js" data-id="YOUR_CHATBOT_ID" async></script>Step 2: Add the Script to index.html
Open your React project and find the public/index.html file. This file is the HTML shell that React renders into.
Locate the closing </body> tag near the bottom of the file. Paste your Glanceia script just above it:
html
    <!-- your other scripts here -->
    <script src="https://cdn.glanceia.com/widget.js" data-id="YOUR_CHATBOT_ID" async></script>
  </body>
</html>
Step 3: Save and Run Your Project
Save the file and run your development server:
bash
npm start
# or
npm run dev
Open your browser. The Glanceia chatbot widget should appear in the bottom right corner of your React app immediately.
Why This Works in React
React renders inside a root <div> element in index.html — typically <div id="root"></div>. The Glanceia script sits outside React's component tree entirely, in the raw HTML shell. This means the chatbot widget:
Loads independently of React's render cycle
Is not affected by React re-renders or state changes
Persists across client-side navigation (it does not unmount when React Router changes the route)
Has zero impact on your React component architecture
For Next.js Projects
In Next.js, you do not have direct access to public/index.html. Use one of these approaches instead:
Option A — Using _document.js:
jsx
// pages/_document.js
import { Html, Head, Main, NextScript } from 'next/document'

export default function Document() {
  return (
    <Html>
      <Head />
      <body>
        <Main />
        <NextScript />
        <script
          src="https://cdn.glanceia.com/widget.js"
          data-id="YOUR_CHATBOT_ID"
          async
        />
      </body>
    </Html>
  )
}
Option B — Using Next.js Script Component (Recommended for Next.js):
jsx
// pages/_app.js or app/layout.js (App Router)
import Script from 'next/script'

export default function App({ Component, pageProps }) {
  return (
    <>
      <Component {...pageProps} />
      <Script
        src="https://cdn.glanceia.com/widget.js"
        data-id="YOUR_CHATBOT_ID"
        strategy="lazyOnload"
      />
    </>
  )
}
The strategy="lazyOnload" tells Next.js to load the chatbot script after all other page resources have loaded — keeping your Core Web Vitals scores clean.
Method 2: React Component with useEffect (Clean Component-Based Integration)
This method wraps the chatbot script injection in a React component using the useEffect hook. It is slightly more involved than the index.html method but gives you React-idiomatic control over when and how the script loads.
When to Use This Method
Use this method when:
You want the chatbot managed as part of your React component tree
You want to conditionally show the chatbot based on React state — for example, only showing it to logged-in users, or only on certain routes
Your project does not have a static
index.htmlyou can easily editYou want to control chatbot initialisation with React lifecycle methods
The Component
Create a new file in your src/ directory — src/components/ChatbotWidget.jsx:
jsx
import { useEffect } from 'react';

const ChatbotWidget = () => {
  useEffect(() => {
    // Check if script is already loaded to avoid duplicates
    if (document.querySelector('script[data-chatbot="glanceia"]')) {
      return;
    }

    const script = document.createElement('script');
    script.src = 'https://cdn.glanceia.com/widget.js';
    script.setAttribute('data-id', 'YOUR_CHATBOT_ID');
    script.setAttribute('data-chatbot', 'glanceia');
    script.async = true;

    document.body.appendChild(script);

    // Cleanup function — removes script when component unmounts
    return () => {
      const existingScript = document.querySelector('script[data-chatbot="glanceia"]');
      if (existingScript) {
        document.body.removeChild(existingScript);
      }
    };
  }, []); // Empty dependency array — runs once on mount

  return null; // This component renders nothing visible
};

export default ChatbotWidget;
Adding the Component to Your App
Import and add the component in your main App.jsx or App.js:
jsx
import ChatbotWidget from './components/ChatbotWidget';

function App() {
  return (
    <div className="App">
      {/* Your existing app components */}
      <ChatbotWidget />
    </div>
  );
}

export default App;
The ChatbotWidget component renders nothing visible — it just handles the script injection when it mounts and cleans up when it unmounts.
Conditional Rendering
The component-based approach gives you full React control over when the chatbot appears. For example, to only show the chatbot to authenticated users:
jsx
function App() {
  const { isAuthenticated } = useAuth(); // your auth hook

  return (
    <div className="App">
      {/* your existing components */}
      {isAuthenticated && <ChatbotWidget />}
    </div>
  );
}
Or to show the chatbot only on specific routes with React Router:
jsx
import { useLocation } from 'react-router-dom';

function App() {
  const location = useLocation();
  const showChatbot = ['/pricing', '/contact', '/support'].includes(location.pathname);

  return (
    <div className="App">
      {/* your existing components */}
      {showChatbot && <ChatbotWidget />}
    </div>
  );
}
Method 3: Custom Hook (For Teams That Want Maximum Reusability)
For larger React codebases where multiple components might need to control the chatbot, a custom hook provides clean, reusable logic.
When to Use This Method
Use this method when:
Multiple components across your app need to control chatbot visibility
You want to abstract chatbot logic entirely out of your components
Your team has a standard for using custom hooks for third-party integrations
The Custom Hook
Create src/hooks/useChatbot.js:
jsx
import { useEffect, useCallback } from 'react';

const CHATBOT_SCRIPT_ID = 'glanceia-chatbot-script';
const CHATBOT_ID = 'YOUR_CHATBOT_ID';

export const useChatbot = (enabled = true) => {
  const loadChatbot = useCallback(() => {
    if (document.getElementById(CHATBOT_SCRIPT_ID)) return;

    const script = document.createElement('script');
    script.id = CHATBOT_SCRIPT_ID;
    script.src = 'https://cdn.glanceia.com/widget.js';
    script.setAttribute('data-id', CHATBOT_ID);
    script.async = true;
    document.body.appendChild(script);
  }, []);

  const removeChatbot = useCallback(() => {
    const script = document.getElementById(CHATBOT_SCRIPT_ID);
    if (script) document.body.removeChild(script);
  }, []);

  useEffect(() => {
    if (enabled) {
      loadChatbot();
    } else {
      removeChatbot();
    }

    return () => {
      // Optional: remove on unmount
      // removeChatbot();
    };
  }, [enabled, loadChatbot, removeChatbot]);
};
Using the Hook
jsx
// In any component that needs chatbot control
import { useChatbot } from '../hooks/useChatbot';

function PricingPage() {
  useChatbot(true); // Enable chatbot on this page

  return (
    <div>
      <h1>Pricing</h1>
      {/* page content */}
    </div>
  );
}
jsx
// Disable chatbot on specific pages
function CheckoutPage() {
  useChatbot(false); // Disable chatbot during checkout

  return (
    <div>
      {/* checkout content */}
    </div>
  );
}
Common Issues When Adding a Chatbot to React
The Widget Appears and Disappears on Route Changes
Cause: Your React Router is unmounting and remounting the component where the chatbot is rendered.
Fix: Move the chatbot to your top-level App.jsx or _app.js (Next.js), outside of any routed components. If using Method 1, the script tag in index.html is outside React entirely and will not be affected by routing.
The Script Loads Multiple Times in Development
Cause: React's useEffect runs twice in development mode with React Strict Mode enabled. This is a development-only behaviour.
Fix: The duplicate script check in Method 2 (if (document.getElementById(CHATBOT_SCRIPT_ID)) return;) prevents multiple script injections. In production, React Strict Mode does not cause double-mounting, so this is not an issue in your deployed app.
The Widget Does Not Appear After Deployment
Cause: The most common reasons are Content Security Policy (CSP) headers blocking external scripts, or the data-id attribute being incorrectly set.
Fix:
Check your browser's developer console for CSP errors — if present, add
cdn.glanceia.comto yourscript-srcpolicyVerify that
YOUR_CHATBOT_IDin the script has been replaced with your actual chatbot ID from the Glanceia dashboardCheck that the script is in the deployed build output — sometimes static file configurations in production exclude the
public/index.htmlchanges
The Chatbot Flashes or Blinks on Page Load
Cause: The chatbot script is loading synchronously or too early in the page load sequence, competing with other resources.
Fix: Ensure the async attribute is present on the script tag. In Next.js, use strategy="lazyOnload" on the Script component. This defers the chatbot until after the main page content has loaded.
The Widget Looks Correct on Desktop But Is Clipped on Mobile
Cause: Your React app's CSS might have overflow settings or fixed positioning that clips the chatbot widget.
Fix: Check your global CSS for overflow: hidden on body or root elements. If present, change to overflow: visible or overflow: auto. The chatbot widget uses fixed positioning (position: fixed) to stay in the viewport corner — this requires that parent elements do not have overflow: hidden.
Configuring the Chatbot for Your React Application
Once the embed is in place, you have full control over the chatbot's behaviour through your Glanceia dashboard — no code changes required after initial setup.
Train the Chatbot on Your Content
Upload your FAQ documents, product descriptions, service information, and policies. The AI reads everything and uses it to answer visitor questions specifically. For a React-built web application, particularly a SaaS product, the most valuable content to upload is:
Your product documentation and feature guides
Your onboarding FAQ — the questions new users ask most in the first week
Your pricing page information and plan comparison
Your integration and technical capability information
Your support and contact details
Set Up Lead Capture
Configure the chatbot to collect visitor name and email at a natural point in the conversation. This is especially valuable for SaaS products where not every visitor signs up on their first visit — the chatbot can capture the lead for email follow-up.
Configure Proactive Triggers
Set the chatbot to open automatically after a configurable time on key pages — your pricing page, your features page, or your homepage. Proactive triggers significantly increase the number of visitors who actually use the chatbot.
Testing Your React Chatbot Integration
After implementation, run through this testing checklist before considering the integration complete:
Desktop functionality
Widget appears in bottom right corner ✓
Welcome message displays correctly ✓
Chatbot answers questions accurately from your uploaded content ✓
Lead capture triggers at the right moment ✓
Mobile functionality
Widget is visible on a small screen ✓
Easy to tap and open ✓
Conversation is readable and comfortable on mobile ✓
Widget does not cover important UI elements ✓
React-specific checks
Widget persists across React Router page changes ✓
Widget does not cause console errors in React ✓
Script loads asynchronously without blocking React rendering ✓
No duplicate script loading in development or production ✓
Performance check
Run Lighthouse in your browser developer tools after adding the chatbot
Core Web Vitals scores should not be materially affected — the async loading keeps the chatbot from blocking your main content
FAQ — Adding a Chatbot to a React Website
Does adding a chatbot affect my React app's performance? When implemented correctly — with the async attribute on the script tag or strategy="lazyOnload" in Next.js — the chatbot loads after your main content and does not affect your Core Web Vitals scores. In Lighthouse audits, an asynchronously loaded chatbot script shows no impact on First Contentful Paint or Largest Contentful Paint.
Will the chatbot work with React Router? Yes — if the embed script is in index.html (Method 1), the chatbot is entirely outside React's component tree and is not affected by React Router navigation. If using Method 2 or 3, place the component or hook at the top level of your app, above the Router's rendered components.
Can I show the chatbot only on certain routes in React Router? Yes — use Method 2 (the useEffect component) and conditionally render the ChatbotWidget component based on the current route. See the conditional rendering example in the Method 2 section above.
Does this work with Next.js App Router (next 13+)? Yes — use the Next.js Script component in your root layout.js file with strategy="lazyOnload". This is compatible with both the Pages Router and the App Router.
Can I pass data from my React app to the chatbot? The embed script approach does not provide a direct data bridge between your React state and the chatbot widget. For more advanced use cases — like passing the logged-in user's name or email to pre-fill the chatbot lead capture — check the Glanceia documentation for any available JavaScript API that allows you to initialise the widget with pre-filled data.
Does the chatbot work with TypeScript React projects? Yes — the useEffect approach and custom hook in Methods 2 and 3 are standard React patterns compatible with TypeScript. If you are using TypeScript, add type annotations to the hook's parameters:
typescript
export const useChatbot = (enabled: boolean = true): void => {
  // same implementation
};
Is this approach different for a React-based CMS like Gatsby? For Gatsby, use the gatsby-browser.js file to inject the script globally, or use Gatsby's React Helmet or the Script API to add the script to the document head/body.
Final Thoughts
Adding a chatbot to a React website is straightforward regardless of your project's complexity — the right method is simply a matter of how much React-idiomatic control your team wants over the integration.
For most projects, Method 1 (script in index.html or Next.js Script component) gets you live in under five minutes without touching your component architecture. For teams who want programmatic control through React patterns, Method 2 and Method 3 provide the same result with more flexibility.
Once the integration is in place, the chatbot works reliably across React routing, handles mobile visitors correctly, and loads asynchronously without impacting your app's performance metrics.
The setup is straightforward. The chatbot is free to start. The only thing left is to go live.
Ready to add an AI chatbot to your React website today? Try Glanceia free — no credit card needed →
Published by Laxman- Team Glanceia