How to Add a Chatbot to Your Next.js Website
Learn how to add an AI chatbot to your Next.js website — Pages Router, App Router, and middleware methods all covered with real code. Free to start with Glanceia.
Introduction
Next.js has become the framework of choice for production React applications in 2026. From marketing sites and SaaS dashboards to ecommerce storefronts and developer tools, Next.js handles the rendering complexity that raw React leaves to the developer — server-side rendering, static generation, API routes, middleware, and the App Router architecture that changed how React applications are structured.
Adding a chatbot to a Next.js application introduces a few specific challenges that do not exist with simpler HTML or client-side-only React setups. Scripts that work fine in a <script> tag on a static site need special handling in Next.js to avoid hydration errors, performance regressions, or issues with server-side rendering.
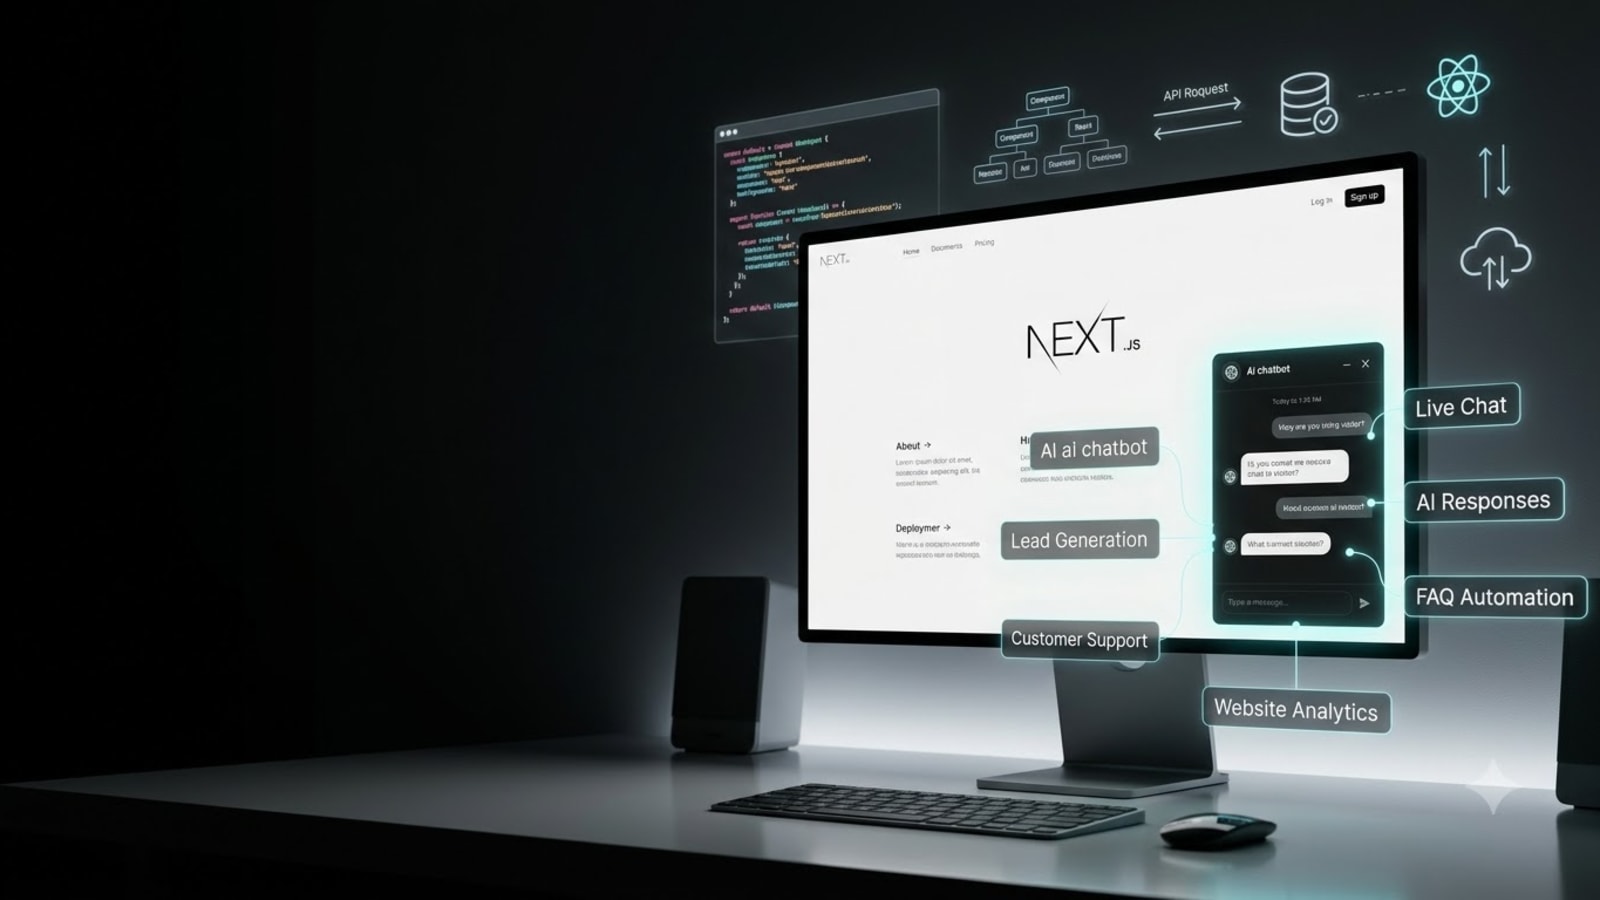
This guide covers every method available for adding a chatbot to a Next.js website in 2026 — from the fastest one-component solution to advanced configurations for complex Next.js applications — with working code for both the Pages Router and the newer App Router.
Before You Start
What you need:
A Next.js project (any version from 12 onwards)
A free Glanceia account — no credit card required
Your chatbot built and trained in the Glanceia dashboard
Your unique Glanceia embed script from the deploy section of your dashboard
Identify your Next.js version and router:
bash
# Check your Next.js version
cat package.json | grep next
Next.js 12 and below: Pages Router only — use the Pages Router methods in this guide
Next.js 13 with Pages Router: Either method works — most teams stay on Pages Router for 13
Next.js 13+ with App Router (
app/directory): Use the App Router methods
If you are unsure which router you are using, check whether your project has a pages/ directory (Pages Router) or an app/ directory (App Router).
Why Next.js Needs a Different Approach Than Plain React
Next.js renders pages on the server before sending them to the browser. This creates two specific considerations when adding a chatbot:
Hydration compatibility When Next.js sends HTML from the server, React then "hydrates" it on the client — attaching event listeners and making the page interactive. Scripts that manipulate the DOM before hydration completes can cause hydration mismatches, which Next.js throws as warnings or errors. The chatbot widget needs to load after hydration.
Script loading strategy Next.js has a built-in Script component that gives you explicit control over when and how third-party scripts load. Using this component correctly ensures the chatbot script does not block your page's performance metrics — particularly Largest Contentful Paint and First Input Delay.
SSR and SSG pages On server-rendered or statically generated pages, window and document are not available during server execution. Any chatbot integration that references these objects needs to be wrapped in client-side-only execution guards.
All of the methods below handle these concerns correctly.
Method 1: Next.js Script Component in _app.js (Pages Router — Recommended)
This is the simplest and cleanest method for Pages Router projects. The Script component is Next.js's built-in solution for third-party scripts and handles all of the performance and hydration concerns automatically.
Step 1: Get Your Embed Script
Log into Glanceia and navigate to the embed section. Copy your unique chatbot ID — you will need it in the next step.
Step 2: Add to _app.js
Open pages/_app.js (or pages/_app.tsx for TypeScript). Add the Next.js Script component with the afterInteractive strategy:
jsx
// pages/_app.js
import Script from 'next/script'

export default function App({ Component, pageProps }) {
  return (
    <>
      <Component {...pageProps} />
      <Script
        src="https://cdn.glanceia.com/widget.js"
        data-id="YOUR_CHATBOT_ID"
        strategy="afterInteractive"
      />
    </>
  )
}
TypeScript version:
tsx
// pages/_app.tsx
import type { AppProps } from 'next/app'
import Script from 'next/script'

export default function App({ Component, pageProps }: AppProps) {
  return (
    <>
      <Component {...pageProps} />
      <Script
        src="https://cdn.glanceia.com/widget.js"
        data-id="YOUR_CHATBOT_ID"
        strategy="afterInteractive"
      />
    </>
  )
}
Understanding the Strategy Options
Next.js Script component offers three strategy values — choosing the right one matters:
beforeInteractive Loads the script before the page becomes interactive — before React hydration. Never use this for chatbot widgets. It blocks the page and defeats the purpose of Next.js optimisation.
afterInteractive ← Use this for chatbots Loads the script after the page has become interactive — after hydration. This is the correct strategy for chatbot widgets. The page loads fully, React hydrates, and then the chatbot widget initialises. No performance impact on page load.
lazyOnload Loads the script during browser idle time, after all other resources have loaded. Also works for chatbots if you want to be even more conservative about performance. The chatbot may take a fraction of a second longer to appear compared to afterInteractive.
Why _app.js is the Right File
_app.js wraps every page in your Next.js Pages Router application. Adding the Script component here means the chatbot loads once and persists across all page navigations — including client-side navigation with next/link. The chatbot widget does not unmount and remount when the user navigates between pages.
Method 2: App Router — Root Layout (Next.js 13+ App Directory)
If your project uses the Next.js App Router with the app/ directory structure, the root layout file is where you add site-wide scripts.
Step 1: Add to app/layout.js or app/layout.tsx
jsx
// app/layout.js
import Script from 'next/script'

export default function RootLayout({ children }) {
  return (
    <html lang="en">
      <body>
        {children}
        <Script
          src="https://cdn.glanceia.com/widget.js"
          data-id="YOUR_CHATBOT_ID"
          strategy="afterInteractive"
        />
      </body>
    </html>
  )
}
TypeScript version:
tsx
// app/layout.tsx
import Script from 'next/script'

export default function RootLayout({
  children,
}: {
  children: React.ReactNode
}) {
  return (
    <html lang="en">
      <body>
        {children}
        <Script
          src="https://cdn.glanceia.com/widget.js"
          data-id="YOUR_CHATBOT_ID"
          strategy="afterInteractive"
        />
      </body>
    </html>
  )
}
Important Note for App Router
In the App Router, layout.js is a Server Component by default. The Next.js Script component is compatible with Server Components and does not require adding 'use client' to the layout file — it handles client-side script loading internally.
Do not add 'use client' to your root layout just to use the Script component. The Script component is specifically designed to work in Server Components.
Method 3: Client Component with useEffect (For Conditional Chatbot Loading)
If you need to show the chatbot only under specific conditions — only for authenticated users, only on certain pages, only after a specific user action — you need a Client Component approach using useEffect.
Creating the Client Component
jsx
// components/ChatbotWidget.jsx
'use client'

import { useEffect } from 'react'

export default function ChatbotWidget() {
  useEffect(() => {
    // Prevent duplicate script loading
    if (document.querySelector('[data-chatbot-id="glanceia"]')) {
      return
    }

    const script = document.createElement('script')
    script.src = 'https://cdn.glanceia.com/widget.js'
    script.setAttribute('data-id', 'YOUR_CHATBOT_ID')
    script.setAttribute('data-chatbot-id', 'glanceia')
    script.async = true

    document.body.appendChild(script)

    return () => {
      // Cleanup on unmount
      const existingScript = document.querySelector('[data-chatbot-id="glanceia"]')
      if (existingScript) {
        document.body.removeChild(existingScript)
      }
    }
  }, [])

  return null
}
TypeScript version:
tsx
// components/ChatbotWidget.tsx
'use client'

import { useEffect } from 'react'

export default function ChatbotWidget(): null {
  useEffect(() => {
    if (document.querySelector('[data-chatbot-id="glanceia"]')) {
      return
    }

    const script = document.createElement('script')
    script.src = 'https://cdn.glanceia.com/widget.js'
    script.setAttribute('data-id', 'YOUR_CHATBOT_ID')
    script.setAttribute('data-chatbot-id', 'glanceia')
    script.async = true

    document.body.appendChild(script)

    return () => {
      const existingScript = document.querySelector('[data-chatbot-id="glanceia"]')
      if (existingScript) {
        document.body.removeChild(existingScript)
      }
    }
  }, [])

  return null
}
Using the Component Conditionally
Show chatbot only to authenticated users (App Router):
jsx
// app/dashboard/layout.jsx
'use client'

import { useSession } from 'next-auth/react'
import ChatbotWidget from '@/components/ChatbotWidget'

export default function DashboardLayout({ children }) {
  const { data: session } = useSession()

  return (
    <div>
      {children}
      {session && <ChatbotWidget />}
    </div>
  )
}
Show chatbot only on specific pages (Pages Router):
jsx
// pages/pricing.js
import ChatbotWidget from '../components/ChatbotWidget'

export default function PricingPage() {
  return (
    <main>
      <h1>Pricing</h1>
      {/* page content */}
      <ChatbotWidget />
    </main>
  )
}
Show chatbot after a delay or user interaction:
jsx
// components/DelayedChatbot.jsx
'use client'

import { useState, useEffect } from 'react'
import ChatbotWidget from './ChatbotWidget'

export default function DelayedChatbot({ delayMs = 5000 }) {
  const [showChatbot, setShowChatbot] = useState(false)

  useEffect(() => {
    const timer = setTimeout(() => setShowChatbot(true), delayMs)
    return () => clearTimeout(timer)
  }, [delayMs])

  return showChatbot ? <ChatbotWidget /> : null
}
Method 4: _document.js (Pages Router — Alternative Approach)
If you prefer to add scripts directly to the HTML document structure rather than using the Script component, the _document.js file in the Pages Router gives you access to the raw HTML output.
jsx
// pages/_document.js
import { Html, Head, Main, NextScript } from 'next/document'

export default function Document() {
  return (
    <Html lang="en">
      <Head />
      <body>
        <Main />
        <NextScript />
        <script
          src="https://cdn.glanceia.com/widget.js"
          data-id="YOUR_CHATBOT_ID"
          async
        />
      </body>
    </Html>
  )
}
When to use this method over _app.js: Use _document.js when you need the script in the raw HTML output rather than managed by Next.js's Script component. This is less common but useful for specific deployment configurations or when working with third-party services that inspect the raw HTML document.
Note: The _document.js file is a Server Component and only renders on the server. Scripts added here do not have access to Next.js's client-side script optimisation features. For most projects, the Script component in _app.js is the better choice.
Choosing the Right Method for Your Project
Project TypeRecommended MethodPages Router — show chatbot on all pagesMethod 1 — Script in _app.jsApp Router — show chatbot on all pagesMethod 2 — Script in app/layout.jsShow chatbot only to logged-in usersMethod 3 — Client Component with useEffectShow chatbot only on specific pagesMethod 3 — Client Component placed on specific pagesPages Router — prefer document-level controlMethod 4 — _document.jsNeed to control chatbot based on user stateMethod 3 — Client Component with conditional rendering
Verifying the Integration Works
After implementing any of the methods above, run a thorough verification before deploying to production.
Development Verification
Run your development server and open the app in your browser:
bash
npm run devOpen your browser's developer console (F12 → Console tab) and check for:
No React hydration warnings related to the chatbot
No CSP (Content Security Policy) errors
No 404 errors for the chatbot script URL
The chatbot widget should appear in the bottom right corner of your Next.js app within a few seconds of the page loading.
Production Build Verification
Always test with a production build before deploying — some issues only appear in production:
bash
npm run build
npm run start
Check the same things as development and additionally verify:
The chatbot appears on all pages you expect it to
Page navigation with
next/linkdoes not cause the chatbot to disappear or reloadThe chatbot works on mobile
Lighthouse Performance Check
Run a Lighthouse audit in Chrome DevTools after adding the chatbot. The afterInteractive strategy should produce no regression in:
First Contentful Paint (FCP)
Largest Contentful Paint (LCP)
Total Blocking Time (TBT)
Cumulative Layout Shift (CLS)
If you see a regression, switch from afterInteractive to lazyOnload in the Script component.
Common Next.js Chatbot Issues and Solutions
Issue: Hydration Mismatch Warning
Error: Warning: Prop 'data-id' did not match. Server: null Client: "YOUR_CHATBOT_ID"
Cause: The script tag is being rendered on both server and client with different content.
Solution: Use the Next.js Script component (Methods 1 and 2) which handles server/client rendering correctly. If using Method 3, ensure 'use client' is at the top of the component file and the useEffect only runs on the client.
Issue: Chatbot Disappears on Page Navigation
Cause: The chatbot is placed inside a component that unmounts during client-side navigation.
Solution: Move the Script component or ChatbotWidget to _app.js (Pages Router) or app/layout.js (App Router) so it is part of the persistent shell that wraps all pages.
Issue: Content Security Policy Blocking the Script
Error in console: Refused to load script 'https://cdn.glanceia.com/widget.js' because it violates the following Content Security Policy directive
Solution: Add cdn.glanceia.com to your CSP script-src directive. In next.config.js:
js
// next.config.js
const nextConfig = {
  async headers() {
    return [
      {
        source: '/:path*',
        headers: [
          {
            key: 'Content-Security-Policy',
            value: "script-src 'self' 'unsafe-inline' cdn.glanceia.com;",
          },
        ],
      },
    ]
  },
}

module.exports = nextConfig
Adjust the CSP directive to match your existing policy — do not simply replace your entire CSP with the example above if you have other directives in place.
Issue: Script Loads Twice in Development
Cause: React Strict Mode causes useEffect to run twice in development. This is expected behaviour in development only and does not occur in production.
Solution: The duplicate-check guard in Method 3 (if (document.querySelector('[data-chatbot-id="glanceia"]')) return) prevents the script from actually being inserted twice, even when useEffect fires twice.
Issue: Chatbot Not Appearing on Statically Generated Pages
Cause: The Script component may not execute correctly on fully static pages in some configurations.
Solution: Ensure you are using strategy="afterInteractive" or strategy="lazyOnload" — both of which execute client-side. The beforeInteractive strategy has limitations on static pages.
Issue: Window or Document Not Defined
Error: ReferenceError: window is not defined or ReferenceError: document is not defined
Cause: Next.js executes component code on the server during SSR, where window and document do not exist.
Solution: Any code that references window or document must be wrapped in either:
A
useEffecthook (which only runs on the client)A typeof check:
if (typeof window !== 'undefined') { ... }The
'use client'directive at the top of the component file
The useEffect approach in Method 3 handles this correctly by design.
Configuring Your Chatbot for a Next.js Product
Once the embed is live, configure the chatbot inside your Glanceia dashboard — no code changes needed after initial setup.
For SaaS products built on Next.js:
Upload your product documentation, onboarding guides, feature descriptions, and pricing information. Visitors arriving on your Next.js marketing site will get instant, accurate answers to questions about your product, features, integrations, and pricing — without waiting for a support email.
For Next.js ecommerce sites:
Upload your product catalog descriptions, shipping policy, return policy, and size guides. The chatbot handles pre-purchase questions on product pages and reduces cart abandonment from hesitant shoppers.
For Next.js agency or portfolio sites:
Upload your service descriptions, process documentation, pricing guide, and FAQ. The chatbot engages visitors who arrive from campaigns and organic search, capturing leads and answering positioning questions before potential clients decide whether to reach out.
Environment Variables for Production
If you want to manage your Glanceia chatbot ID through environment variables rather than hardcoding it, Next.js supports this cleanly:
Add to your .env.local:
bash
NEXT_PUBLIC_GLANCEIA_CHATBOT_ID=your_chatbot_id_hereThe NEXT_PUBLIC_ prefix makes the variable available on the client side — required for script attributes that render in the browser.
Use in your component:
jsx
// pages/_app.js
import Script from 'next/script'

export default function App({ Component, pageProps }) {
  return (
    <>
      <Component {...pageProps} />
      <Script
        src="https://cdn.glanceia.com/widget.js"
        data-id={process.env.NEXT_PUBLIC_GLANCEIA_CHATBOT_ID}
        strategy="afterInteractive"
      />
    </>
  )
}
This approach lets you use different chatbot IDs for development, staging, and production environments by setting different values in .env.local, .env.staging, and .env.production.
FAQ — Adding a Chatbot to Next.js
Which Next.js Script strategy should I use for a chatbot? Use afterInteractive for most cases — it loads the chatbot after the page has fully hydrated, which ensures no performance impact on your Core Web Vitals. Use lazyOnload if you want even more conservative performance behaviour and are fine with the chatbot loading a fraction of a second later.
Does adding a chatbot to Next.js require a separate API route? No. The Glanceia chatbot runs as a client-side widget — it does not require a Next.js API route, server-side data fetching, or any backend configuration. The embed script is the only thing needed.
Will the chatbot cause a layout shift? The Glanceia widget uses fixed positioning and loads asynchronously — it does not push or shift page content as it initialises. Cumulative Layout Shift (CLS) scores should not be affected.
Can I use the chatbot with Next.js middleware? The chatbot is a client-side widget and does not interact with Next.js middleware. Middleware runs on the server between requests, while the chatbot runs in the browser after page load. The two do not conflict.
Does this work with Vercel deployments? Yes — all methods described in this guide work on Vercel, Netlify, AWS Amplify, or any other Next.js deployment target. The chatbot script loads from Glanceia's CDN regardless of where your Next.js app is hosted.
Can I track chatbot events in Google Analytics or similar tools? Glanceia's dashboard shows you conversation analytics, lead capture data, and common questions. For integration with Google Analytics or other event tracking tools, check whether Glanceia's JavaScript API exposes events that you can hook into — this would allow you to track chatbot interactions as custom GA4 events.
Is there a performance difference between the Pages Router and App Router integration? Both use the same Script component with the same loading strategy, so performance is equivalent. The difference is only which file you add it to — _app.js for Pages Router, app/layout.js for App Router.
Final Thoughts
Adding a chatbot to a Next.js website is straightforward when you use the right method for your project structure. The Next.js Script component with afterInteractive strategy handles all the performance and hydration concerns automatically — and adding it to _app.js or app/layout.js ensures the chatbot persists across all routes without any routing complications.
For most Next.js projects, the entire integration is fewer than 10 lines of code and takes under 10 minutes to implement. The rest of the 30-minute setup time goes into training the chatbot on your business content in the Glanceia dashboard — which is what determines whether the chatbot is genuinely useful to your visitors.
Get the embed right once. Train the chatbot well. The results show up from day one.
Ready to add a chatbot to your Next.js website for free? Try Glanceia — no credit card needed →
Published by Laxman- Team Glanceia