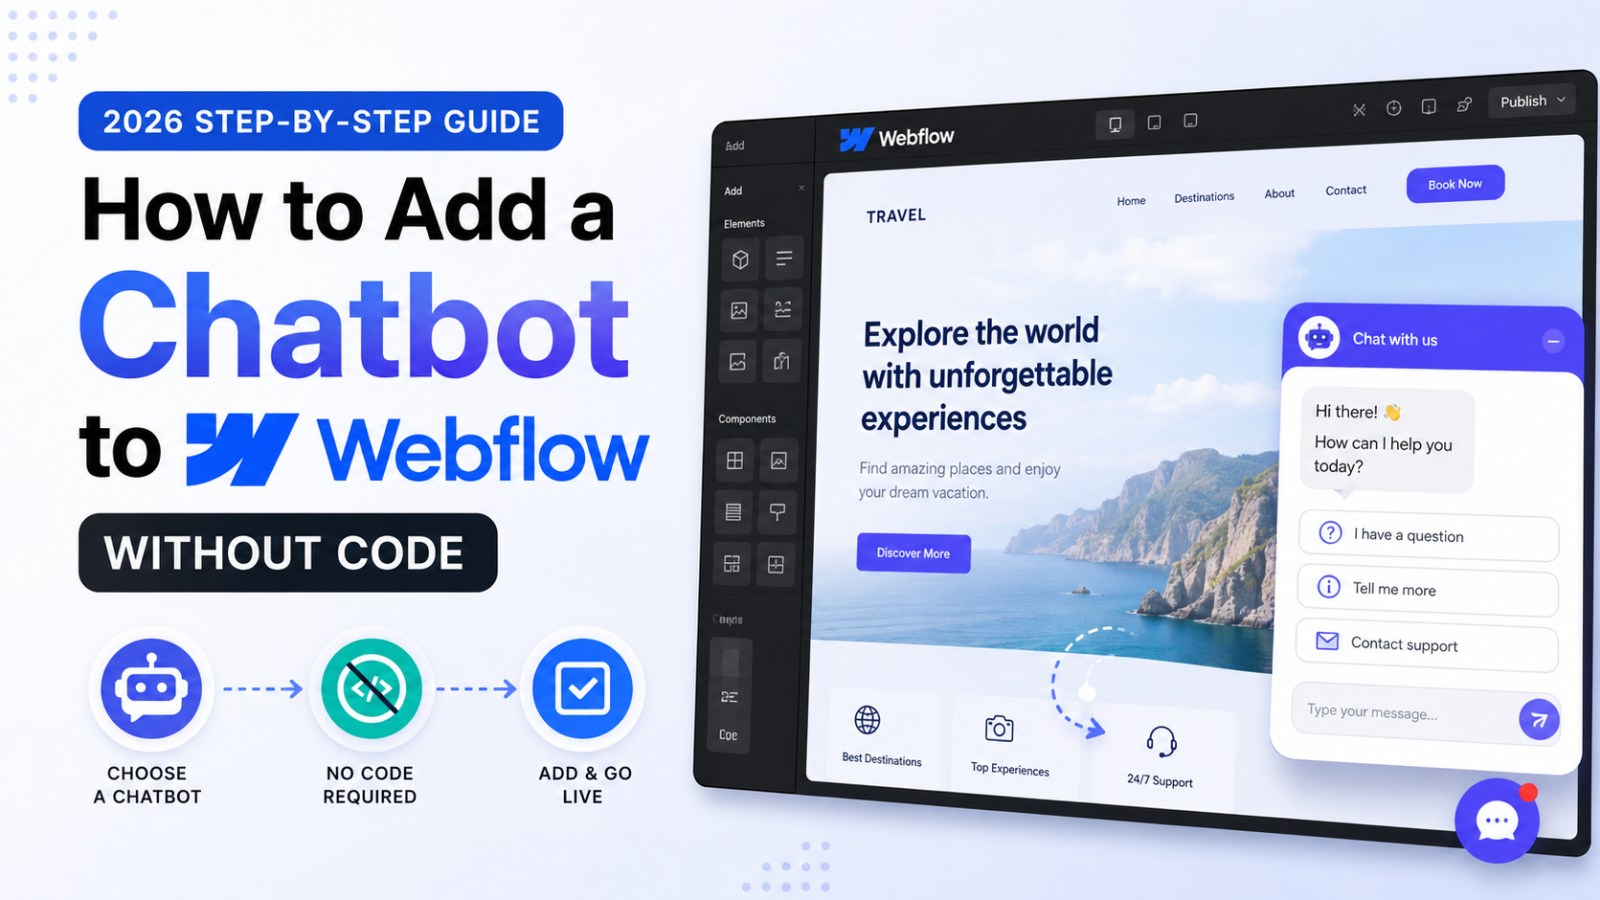
How to Add a Chatbot to Webflow Without Code (2026 Step-by-Step Guide)
Learn how to add an AI chatbot to your Webflow website in minutes — no code needed. Answer visitor questions, capture leads, and support visitors 24/7 with Glanceia
Introduction
Webflow is one of the most powerful website builders available in 2026. Designers and agencies love it for its clean output, visual control, and professional results. But even the most beautifully designed Webflow site has the same problem every other website has — most visitors leave without ever making contact.
They browse your services page, check your pricing, have a question they cannot immediately find the answer to, and close the tab. No inquiry, no lead, no revenue.
Adding an AI chatbot to your Webflow site fixes this. It sits on every page, answers visitor questions instantly, captures leads automatically, and works 24/7 — without touching a single line of your Webflow design and without needing a developer.
This guide walks you through exactly how to add a chatbot to Webflow step by step using Glanceia — the fastest, most affordable way to go from zero to a live AI chatbot on any Webflow site.
Why Webflow Sites Specifically Benefit From a Chatbot
Webflow attracts a specific type of website — agencies, SaaS products, design studios, portfolio sites, service businesses, and startups. These businesses share a common characteristic: their visitors arrive with high intent but specific questions that the site alone does not always answer fast enough.
A potential client browsing an agency's Webflow site wants to know if you work with their industry, what your typical project timeline looks like, and roughly what a project of their size costs. A SaaS visitor wants to know how onboarding works and whether your tool integrates with their existing stack. A startup wants to understand if you have done projects at their stage before.
These are not generic FAQ questions. They are specific, conversion-critical questions that a static Webflow page often cannot answer directly — but a trained AI chatbot can.
Beyond answering questions, a chatbot on a Webflow site:
Captures leads after hours — Webflow sites often attract global audiences in multiple time zones. A chatbot engages visitors at any hour regardless of where they are.
Qualifies leads automatically — collects name, email, project type, budget range, and timeline before your team gets involved
Reduces bounce rate — a visitor who gets an answer stays on site longer and is far more likely to convert than one who leaves with an unanswered question
Works across every Webflow page — homepage, services, pricing, case studies, blog — every page becomes a potential conversion point
What You Will Need
A published Webflow site (on any paid Webflow plan — see the note below about free plans)
A free Glanceia account
Access to your Webflow project settings
20 to 30 minutes
Note on Webflow plans: Adding custom code to Webflow requires a paid Webflow site plan. If you are on the free Webflow Starter plan, you will need to upgrade to a Basic plan or above to use custom code. If your site is hosted on a paid Webflow plan, you are ready to go.
Step-by-Step: How to Add a Chatbot to Webflow
Step 1: Create Your Free Glanceia Account
Go to Glanceia and sign up for a free account. No credit card required and the free plan is fully functional — you can build, train, and go live without upgrading.
Step 2: Train the Chatbot on Your Business Content
This step is what separates a genuinely useful chatbot from a generic one that frustrates visitors. Upload the content your chatbot needs to answer questions accurately:
For agency and studio Webflow sites:
Services and what is included in each
Process and typical project timelines
Pricing ranges or how you price projects
Industries or client types you work with
Case study summaries and past project types
FAQ document compiled from questions prospects typically ask
For SaaS or product Webflow sites:
Feature list and what each feature does
Pricing plans and what is included
Onboarding process and implementation timeline
Integrations and compatibility
Common objections and how you address them
For service business Webflow sites:
Full service descriptions and what is included
Pricing structure
Booking or inquiry process
Policies — cancellation, refunds, guarantees
Contact and location details
Upload these as PDFs, paste them as text, or link your existing pages. The more specific and complete your uploaded content, the more accurately the chatbot answers visitor questions. For a full guide on this process see our post on how to train a chatbot on your own data.
Step 3: Customise the Widget for Your Webflow Design
Webflow sites are typically design-forward — your chatbot widget should feel like it belongs, not like a generic third-party tool dropped onto a carefully crafted site.
In your Glanceia dashboard, customise:
Color Match your Webflow site's primary brand color exactly. The widget should feel like a designed element, not an afterthought.
Chatbot name Use your agency or business name, a product name, or a simple label like "Ask Us" or "Support."
Welcome message Write something specific to your audience rather than a generic opener. Good examples for different Webflow site types:
Agency: "Hi! Questions about working together, timelines, or pricing? Ask me anything."
SaaS: "Hey! Want to know how [Product Name] works or see if it fits your stack? I can help."
Service business: "Hello! Have a question about our services or want to get started? I'm here."
Portfolio: "Hi! Curious about my work, availability, or rates? Just ask."
Widget position Keep this at bottom right — it is where visitors naturally look for chat support and where engagement rates are consistently highest.
Step 4: Copy Your Embed Script
Once your chatbot is configured and tested inside the Glanceia dashboard, navigate to the embed or publish section. Glanceia generates a single line of JavaScript — your embed script. It looks something like:
html
<script src="https://cdn.glanceia.com/widget.js" data-id="YOUR_CHATBOT_ID" async></script>Copy this to your clipboard. This one line is everything you need.
Step 5: Add the Script to Your Webflow Site
There are two ways to add the chatbot script to Webflow. Both work equally well — use whichever matches your setup.
Method A: Site-Wide Custom Code (Recommended)
This adds the chatbot to every page of your Webflow site in one step — the most efficient approach for most sites.
Open your Webflow project in the Designer
Click on the Pages icon in the left panel
Click the gear icon (⚙️) next to your homepage or any page to open Page Settings — then go to the top-level Site Settings instead
In the left sidebar, go to Custom Code
Scroll down to the Footer Code section
Paste your Glanceia embed script into the Footer Code box
Click Save Changes
Publish your Webflow site — the chatbot will not appear until you publish
Method B: Page-Specific Custom Code
If you only want the chatbot to appear on specific pages — for example, only on your pricing page or contact page — use this method instead:
Open your Webflow project in the Designer
Click the Pages icon in the left panel
Click the gear icon (⚙️) next to the specific page you want the chatbot on
Scroll down to Before </body> tag in the page settings
Paste your Glanceia embed script there
Click Save
Repeat for any other pages you want the chatbot on
Publish your site
Which method to use? For most Webflow sites, Method A (site-wide) is the right choice. A visitor can have a question on any page — your homepage, your services page, your blog — and the chatbot should be available everywhere. Use Method B only if you have a specific reason to limit the chatbot to certain pages.
Step 6: Verify It Is Live
After publishing, open your Webflow site in a private or incognito browser window. You should see the Glanceia chat widget in the bottom right corner of the page.
Test it with a few real questions — the same questions a real prospect or visitor would ask. Check:
Does it answer your most common questions accurately and specifically?
Does the welcome message display correctly?
Is the widget color matching your brand?
Does it work and look correct on mobile? (Open it on your phone and test — Webflow sites often have significant mobile traffic)
When it cannot answer something, does it offer a useful next step rather than a dead end?
If anything looks off, go back to your Glanceia dashboard and adjust the content or widget settings. Changes update immediately without needing to re-publish your Webflow site.
What Happens After You Go Live
Once the chatbot is live on your Webflow site, a few things start happening immediately:
Every visitor now has an instant way to ask questions — even at 2 AM when your team is offline, visitors on different time zones, and leads that arrive over the weekend.
Lead capture starts automatically — every conversation collects name, email, and any qualifying information you configured, building a database of warm leads from visitors who previously bounced anonymously.
Your Glanceia dashboard starts collecting conversation data — the questions visitors ask most often reveal gaps in your Webflow site's content, pricing page clarity, and objection handling that are worth fixing.
Bounce rate typically drops — visitors who engage with the chatbot stay on site longer and are significantly more likely to convert than those who do not.
For more on what to do with the leads and data your chatbot generates, see our guide on 10 ways an AI chatbot increases website conversions.
Does This Work With Webflow CMS and Ecommerce?
Yes — because the chatbot is added via custom code in the site settings rather than embedded into a specific template or CMS structure, it works across:
Webflow CMS sites — the chatbot appears on collection pages, blog posts, and dynamically generated pages
Webflow Ecommerce — the chatbot appears on product pages, the cart page, and throughout the store, where it can answer product questions and help recover hesitant shoppers
Client sites built on Webflow — agencies can add the chatbot to client projects as part of their delivery without needing client-side technical involvement
Webflow Memberships sites — the chatbot can appear on both public and gated pages
Webflow Localization projects — works across localised versions of the site
Why Glanceia Is the Best Chatbot for Webflow Sites
Webflow users tend to be quality-conscious — they chose Webflow because generic tools were not good enough. The same standard applies to their chatbot choice.
Glanceia is purpose-built for exactly this use case:
It trains on your specific business content — not generic AI responses, but answers drawn directly from your uploaded documents and pages. A Webflow agency site visitor asking about your retainer pricing gets your actual retainer pricing, not a vague "it depends on your project."
It embeds cleanly on Webflow with a single script — no plugin, no Webflow app marketplace limitation, no compatibility issue with Webflow's clean HTML output.
It is fast-loading and asynchronous — the script does not block your Webflow site's load time or affect your Core Web Vitals, which Webflow users care deeply about.
It is priced honestly — free plan available with no credit card, paid plans from $9/month with AI fully included. No hidden add-on fees.
It looks good — the widget is clean, minimal, and customisable to match any Webflow design aesthetic.
Common Mistakes to Avoid
Not publishing after adding the code Webflow holds all changes in draft until you explicitly hit Publish. The chatbot will not appear on your live site until you publish. This is the most common reason people think the setup is broken when it is actually just unpublished.
Using the Webflow free plan Custom code requires a paid Webflow site plan. If the Custom Code field is greyed out or missing, you need to upgrade your Webflow hosting plan.
Uploading too little content A chatbot trained on three paragraphs of content will give three-paragraph-quality answers. Upload everything relevant — every service page, your full FAQ, your pricing structure, your process document.
Not testing on mobile Webflow sites are typically highly polished on mobile — your chatbot should be too. Test on a real phone before considering it fully live.
Forgetting to update content when your site changes If you update your Webflow site's services, pricing, or process, update your Glanceia training content at the same time. Outdated chatbot answers undermine the trust that a well-designed Webflow site builds.
FAQ
Do I need to know how to code to add a chatbot to Webflow? No. The only technical step is copy-pasting one line of code into Webflow's Custom Code box — a process that takes about 30 seconds and requires no coding knowledge.
Will the chatbot affect my Webflow site's load speed? No. Glanceia's embed script loads asynchronously, meaning it does not block your Webflow site's content from loading. Your Core Web Vitals and Lighthouse scores will not be affected.
Can I use this on a Webflow site I built for a client? Yes — you can add the Glanceia chatbot to any Webflow site you have publishing access to, including client sites.
Does this work with Webflow's Ecommerce feature? Yes — the chatbot appears on all Webflow Ecommerce pages including product detail pages, the cart, and checkout, where it can answer product questions and support shoppers who are hesitating.
Can I limit the chatbot to specific pages on my Webflow site? Yes — use Method B described above (page-specific custom code) to add the chatbot only to the pages you choose, rather than site-wide.
What if I want to remove the chatbot later? Go back to your Webflow project's Custom Code settings, delete the Glanceia script, and republish your site. The chatbot disappears immediately.
Does the chatbot work across Webflow's localised language versions? Yes — the embed script works across all localised versions of your Webflow site. Configure multilingual content in your Glanceia dashboard if you serve visitors in multiple languages.
Final Thoughts
A Webflow site without a chatbot is a well-designed shop with the door locked. Visitors arrive, look around, have questions, and leave — without ever having a chance to convert.
Adding a chatbot to Webflow takes less than 30 minutes, requires zero code beyond a single paste, and immediately gives every visitor a way to ask questions and get instant answers — turning more of your carefully designed Webflow traffic into actual leads and clients.
Ready to add a chatbot to your Webflow site today? Try Glanceia free →
Published by Laxman- Team Glanceia