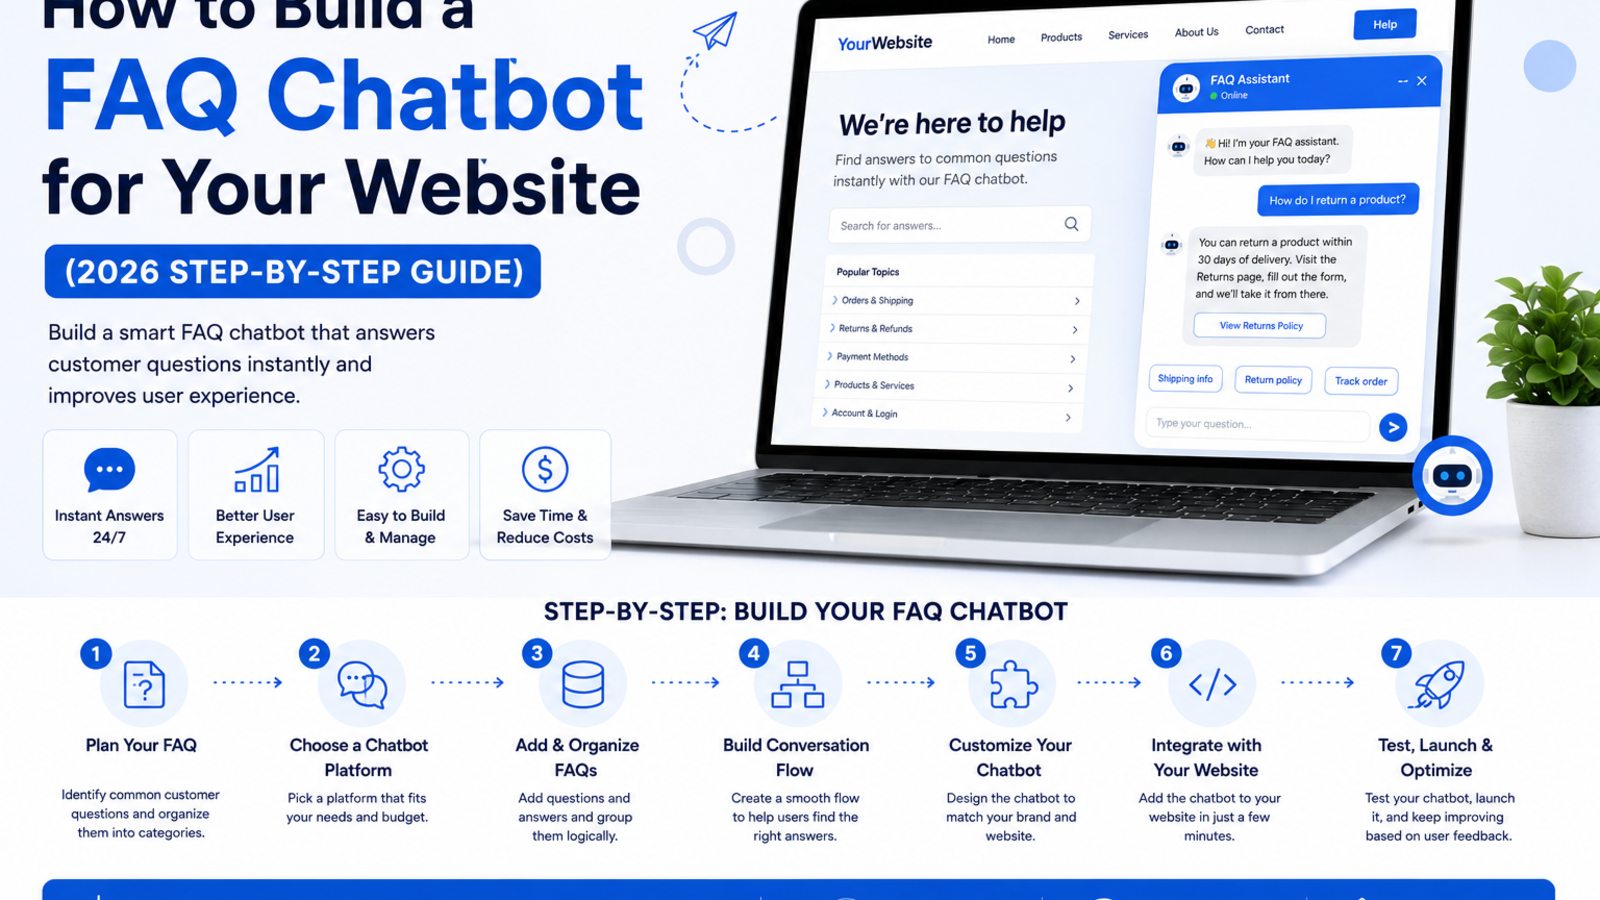
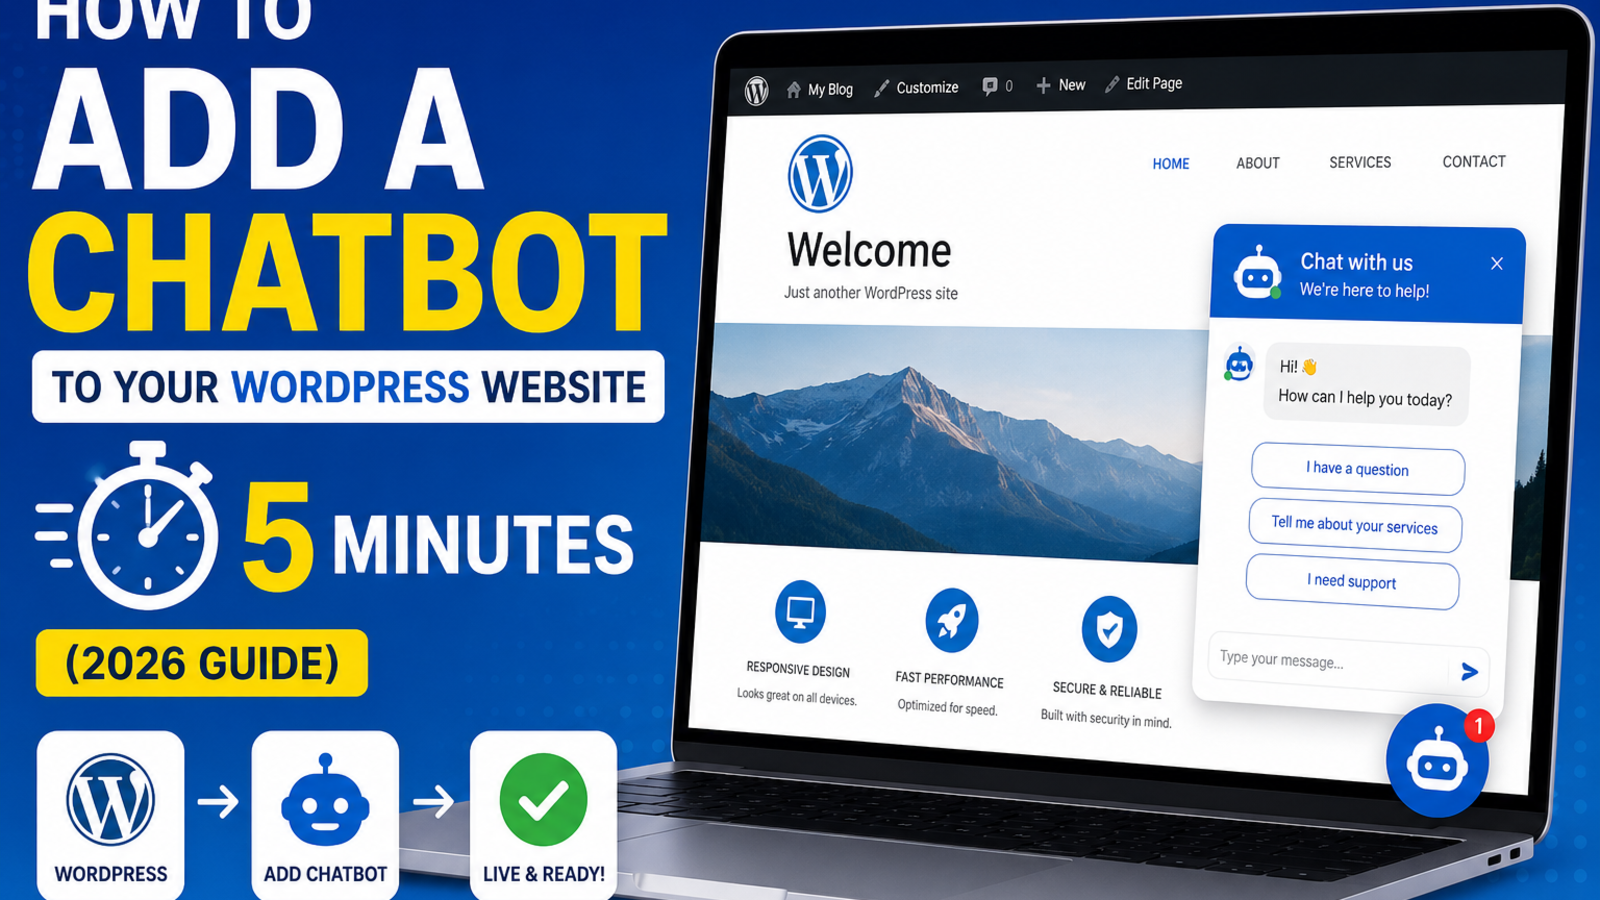
How to Add a Chatbot to Your WordPress Website in 5 Minutes (2026 Guide)
Learn how to add an AI chatbot to your WordPress website in under 5 minutes — no coding, no plugins needed. Answer questions, capture leads and support visitors 24/7 with Glanceia.
Introduction
WordPress powers over 40% of all websites on the internet. Chances are, yours is one of them. And if you're running a business on WordPress — whether it's a service site, a blog that generates leads, or a WooCommerce store — you already know that visitors come and go without ever making contact.
Most of them leave because nobody was there to answer a question at the right moment.
Adding an AI chatbot to your WordPress site fixes this. It sits on every page, answers visitor questions instantly, captures leads automatically, and works 24/7 — without a single plugin conflict, without a developer, and without touching your theme files in any complicated way.
Here's exactly how to do it in under 5 minutes using Glanceia.
Why WordPress Sites Need a Chatbot
WordPress is flexible, but out of the box it gives visitors very few ways to get an instant answer. Contact forms have multi-hour reply delays. Phone numbers only work during business hours. FAQs require visitors to actually go looking for answers themselves — and most won't bother.
A chatbot changes this dynamic by:
Responding instantly to questions the moment a visitor has them
Working after hours when your team is offline
Capturing leads automatically without relying on someone filling out a contact form
Reducing bounce rates by giving hesitant visitors a reason to stay and engage
Handling repetitive questions so your team can focus on higher-value work
Whether you're running a business site, a WooCommerce store, a portfolio, or an agency site — a chatbot makes your WordPress site work harder for you.
What You'll Need Before You Start
A WordPress website (self-hosted on WordPress.org — this also works for WordPress.com Business plan and above)
A free Glanceia account
Access to your WordPress admin panel
5 minutes
That's it. No coding knowledge required. No extra plugins needed.
Step-by-Step: Adding a Chatbot to WordPress
Step 1: Create Your Free Glanceia Account
Go to Glanceia and sign up for a free account. The setup wizard will guide you through creating your first chatbot — it takes about 2 minutes.
Step 2: Train the Chatbot on Your Content
This is what makes your chatbot actually useful instead of just generic. Upload the content it should know about:
Your FAQ page (paste the text or upload as a PDF)
Your services or product descriptions
Your pricing (even a basic summary works)
Your contact details and business hours
Any policy pages (returns, terms, privacy)
The more content you upload, the more accurately the chatbot will answer visitor questions using your actual information instead of making things up.
Step 3: Customize the Widget
Choose a widget color that matches your WordPress theme, set a welcome message that fits your site's tone ("Hi! How can I help you today?" or something more specific like "Looking for the right service? I can help you find it!"), and set your chatbot's name if you want to give it a branded identity.
Step 4: Copy Your Embed Script
Once your chatbot is configured, Glanceia will give you a small embed script — a single line of JavaScript that looks something like this:
html
<script src="https://cdn.glanceia.com/widget.js" data-id="YOUR_ID" async></script>Copy this line — it's all you need.
Step 5: Paste It Into WordPress
You have two easy options depending on how your WordPress site is set up:
Option A — Using a Plugin (Easiest, No Theme Editing)
In your WordPress admin, go to Plugins → Add New
Search for "Insert Headers and Footers" (free plugin by WPCode)
Install and activate it
Go to Settings → Insert Headers and Footers
Paste your Glanceia script into the Footer Scripts box
Click Save
Done. The chatbot will now appear on every page of your site.
Option B — Adding Directly to Your Theme (Slightly More Direct)
In your WordPress admin, go to Appearance → Theme File Editor
Open footer.php from the file list on the right
Find the closing
</body>tag near the bottomPaste your Glanceia script just above it
Click Update File
Both options work equally well — Option A is recommended if you're not comfortable editing theme files, or if you want to keep things simple and plugin-friendly.
Step 6: Test It
Open your website in a new incognito/private window and look for the chatbot widget in the bottom corner of the page. Ask it a few test questions — the same things a real visitor might ask — to confirm it's answering correctly before you consider it live.
If something looks off, go back to your Glanceia dashboard and update the uploaded content or tweak the widget settings. Changes go live immediately.
What Happens After You Go Live
Once the chatbot is active on your WordPress site, a few things start happening automatically:
Every visitor now has a way to ask questions and get instant answers — even at 2 AM
Leads get captured with name and email even from visitors who don't fill in your contact form
Your chatbot dashboard starts collecting data on the most common questions visitors ask — useful for improving your site's FAQ or content
Bounce rates tend to drop as visitors who would have left now have a reason to engage
For more on how to make the most of those leads and that data, see our guide on 10 ways an AI chatbot increases website conversions.
Works With All Major WordPress Themes and Builders
One of the advantages of Glanceia's embed-based approach is that it's completely independent of your WordPress theme. It works with:
Elementor sites
Divi sites
Astra, OceanWP, GeneratePress and any other theme
WooCommerce stores
Full Site Editing (FSE) block themes
Custom or agency-built themes
Since it's just a JavaScript snippet added to the footer, there are no compatibility issues and no plugin conflicts to worry about.
Common Questions and Mistakes
Do I need a special WordPress chatbot plugin? No. Glanceia works via a simple embed script, so you don't need a dedicated WordPress plugin — just a way to add a footer script, which the free WPCode plugin handles perfectly.
Will the chatbot slow down my WordPress site? No. The script loads asynchronously, meaning it doesn't block your page from loading. Your Core Web Vitals and site speed scores won't be affected.
Can I control which pages the chatbot appears on? Yes. If you want the chatbot to appear only on specific pages (like your pricing or services page), you can control that through conditional display settings in your Glanceia dashboard or by using the WPCode plugin's conditional logic feature.
Does this work with WooCommerce product pages? Yes — since the script is added site-wide, it will appear on WooCommerce product, cart, and shop pages, where it can answer product questions and help recover hesitant shoppers before they abandon their cart.
What if I'm on WordPress.com instead of WordPress.org? You'll need to be on the Business plan or above on WordPress.com to add custom scripts. If you're on a lower plan, this method won't be available — upgrading to Business plan or moving to self-hosted WordPress.org is the best option.
FAQ
Is Glanceia free to use on WordPress? Glanceia has a free plan that lets you get started without a credit card. Paid plans unlock higher conversation volumes and more advanced features like lead capture and multi-source training.
How do I update the chatbot's content after I've gone live? Update the documents or FAQ text in your Glanceia dashboard — changes take effect immediately without needing to touch your WordPress site again.
Can the chatbot handle multiple languages? Yes — if your WordPress site serves visitors in multiple languages, the chatbot can detect and respond in the visitor's language as long as it has been given training data in those languages.
What if I want to remove the chatbot later? Simply delete the script from your footer (either remove it from the WPCode plugin settings or from footer.php) and the widget disappears from your site instantly.
Final Thoughts
Adding a chatbot to WordPress used to mean setting up a complicated integration or hiring a developer to customize a plugin. Today it takes five minutes and a single line of code — and the result is a 24/7 assistant on every page of your site that captures leads, answers questions, and converts more of your existing traffic.
Ready to go live in 5 minutes? Try Glanceia free →
Published by Laxman- Team Glanceia